A Linux Distro for the IT Pro: Kaisen Linux

I recently picked up an inexpensive laptop while in training for the US Army. I was going to originally install KALI on it and use it for CTF’s but I figured I would install more of a daily driver distro on it so I can sharpen my Linux skillset while I am here. Enter Kaisen Linux.
I have used Linux for years; I would say I am a 7/10 when it comes to using and troubleshooting different Linux distros. I hold the Linux+ certification and use KALI quite a bit when teaching cybersecurity. Over the last 10 or so weeks I have been emersed in the sysadmin side of the house. Working a lot in Cisco and Windows servers. It’s been a few years since I have itched that part of my brain so when I started looking for a new distro to poke around in I found Kaisen Linux. Their website, it promises the IT Pro a distro that is chock full of tools that sysadmins need. What I really like about distros like this one is the myriad of tools that are available that I would have never heard of. I figured I would share what I find as I explore the OS over the next few weeks.
Installation:
To get started head over to the download page for Kaisen Linux here
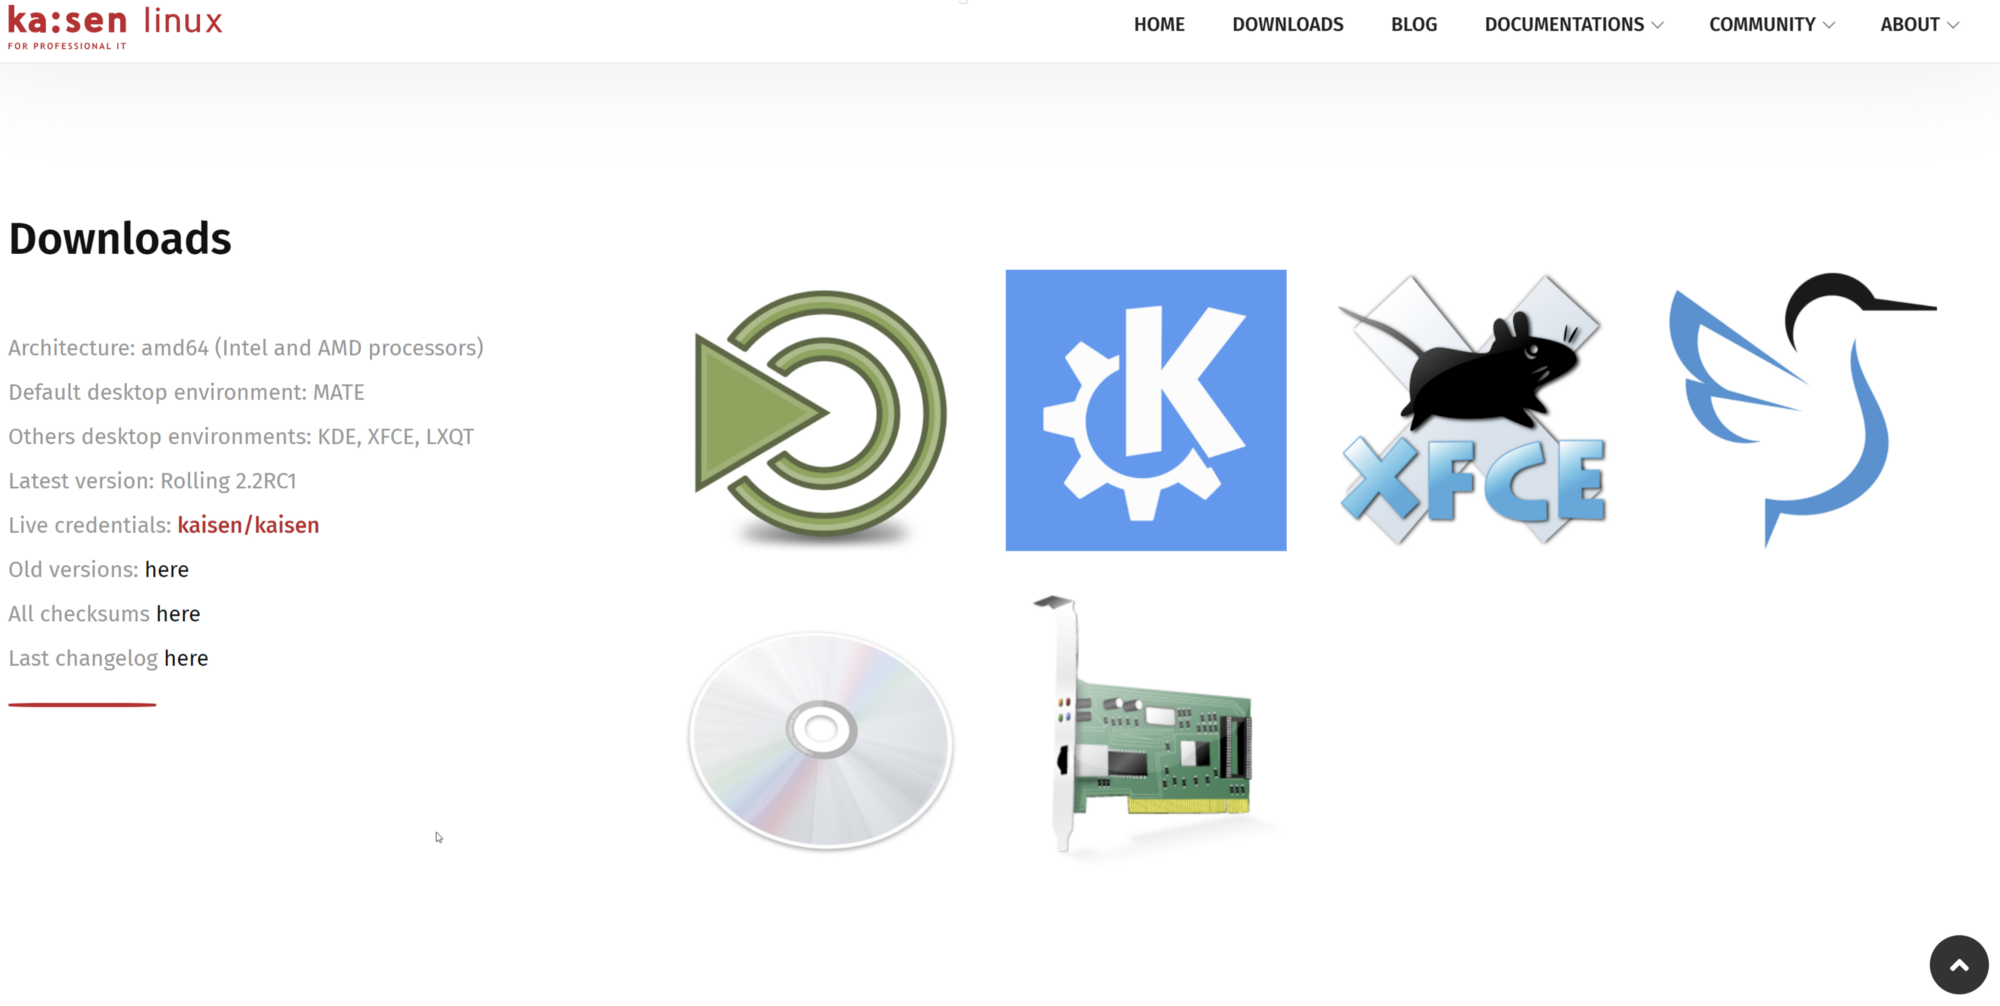
There are several different desktop environments to choose from including MATE, KDE, XFCE, and LXQT. If you aren’t familiar with desktop environments, you can choose the layout of your desktop, the start menu, and taskbars. If you would like more info on desktop environments check out this awesome video on Learn Linux TV.
I will say that I was sad to see that Gnome was not on the list as that is my go-to when it comes to desktop environments, but XFCE is a close second since that is what is used in Kali.
Creating a bootable drive
When creating bootable drives my go-to tool is Etcher from Balena. If you have ever done anything with Raspberry Pi’s then you are very familiar with this software. Head over to Balena to download the software.
balenaEtcher — Flash OS images to SD cards & USB drives
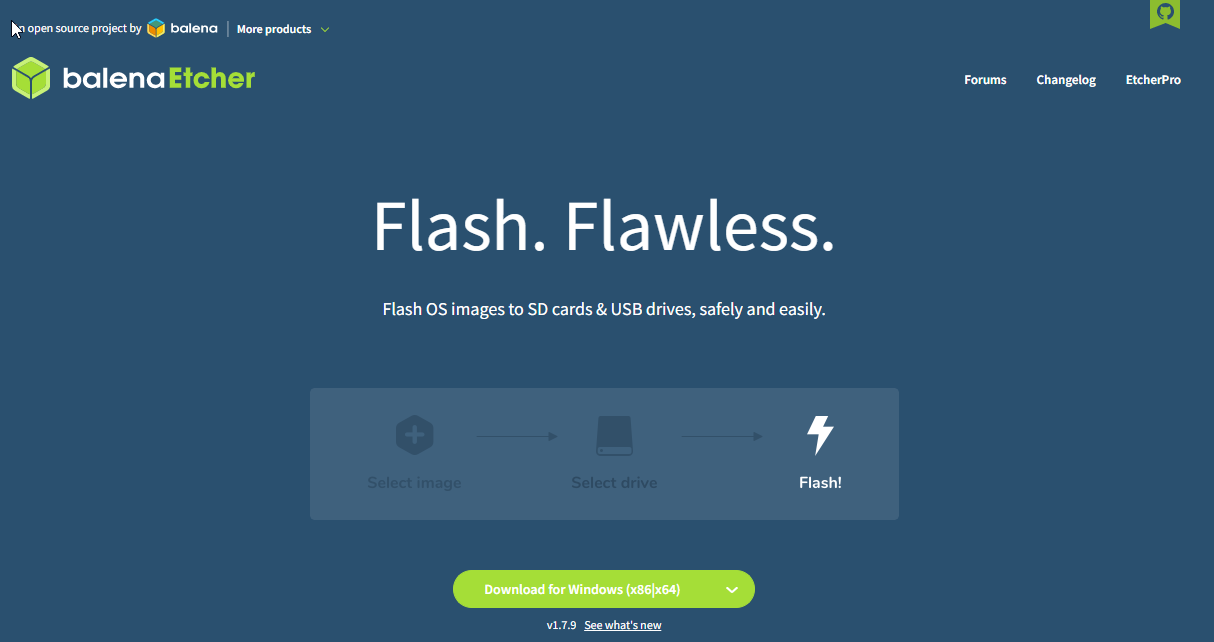
www.balenda.io/etcher
Once you have the software downloaded, install it on your machine. Plug in your installation media and open Balena. When you open the software, you will see a simple interface in which you can choose the iso that you downloaded above. The first option is where you select your freshly downloaded Kaisen image. The second option is where you need to choose your flash drive or other installation media.
Note: Please make sure that your main hard drive is not selected here. It will wipe any and all data that is on the device that you choose in the second option.

Click “Flash!” to create the drive!
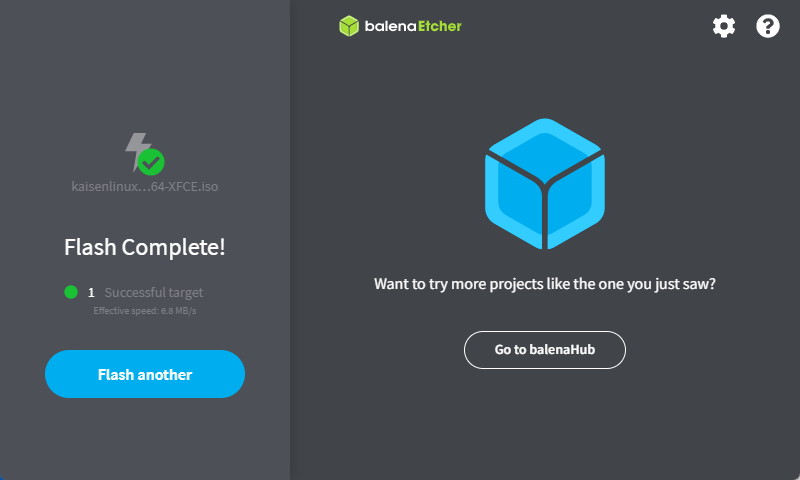
Sometimes it will error the first time, don’t panic, just try again
Install it on your machine
Turn off the machine that you are installing Kaisen on and insert your installation media.
Power on your machine.
Note: From the factory, your machine is set to boot to the hard drive and not the installation media that you have plugged in. You may have to go into the BIOS / UEFI and tell the computer to boot to your installation media. You may also have an option to go to a “Boot Menu” and select the drive. Every computer is different but a quick Google search for “How to boot to USB from my ”
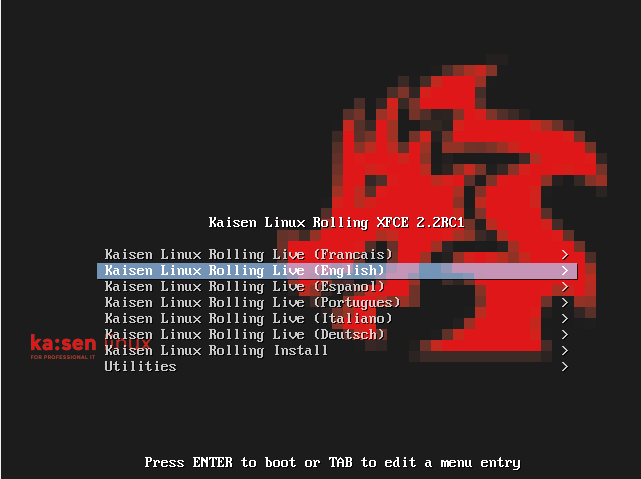
If your boot settings are correct, you will see a screen like the one below where you can choose your version. If you just want to try out the OS you can select the Live version. This will load parts of the OS into memory and run the OS from your flash drive.
Otherwise, scroll down to the “Kaisen Linux Rolling Install” option and hit enter.
On the next screen, select Graphical Install
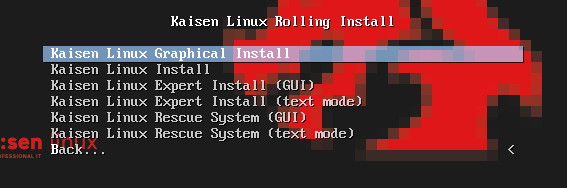
and we are off, the following are the setup screens that you will see as you go through the setup.
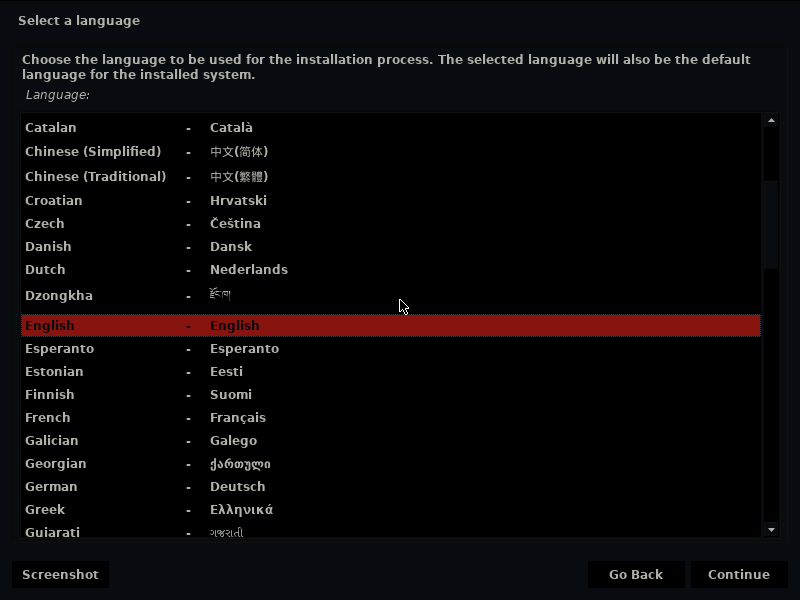
Choose your language

Choose your location
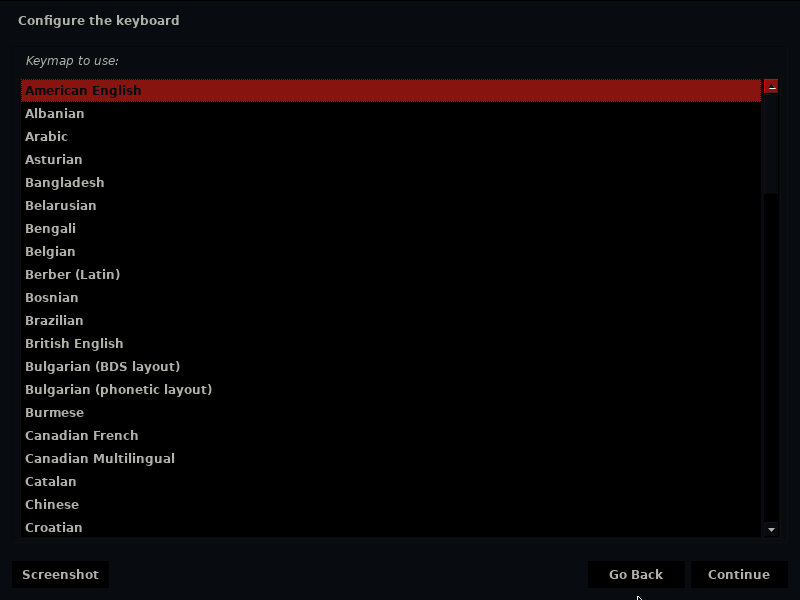
Choose your keyboard
Loading files…
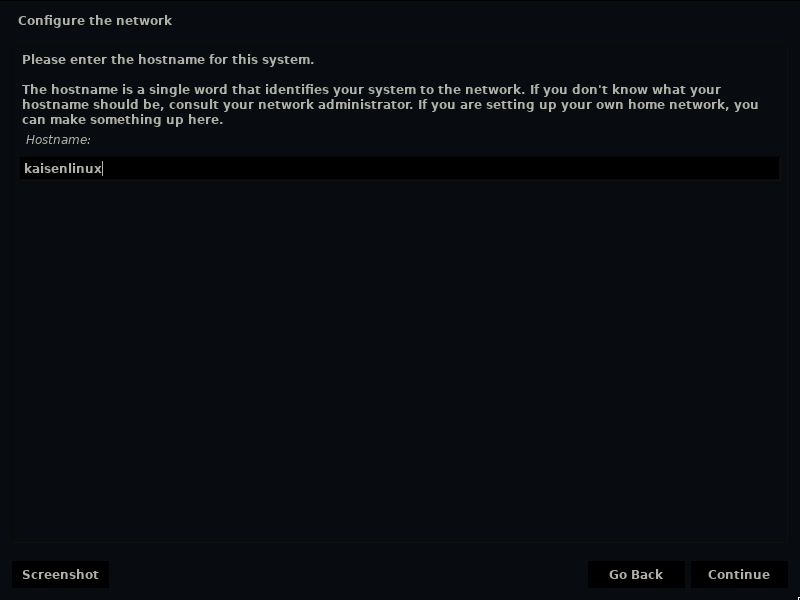
Enter the hostname for your machine
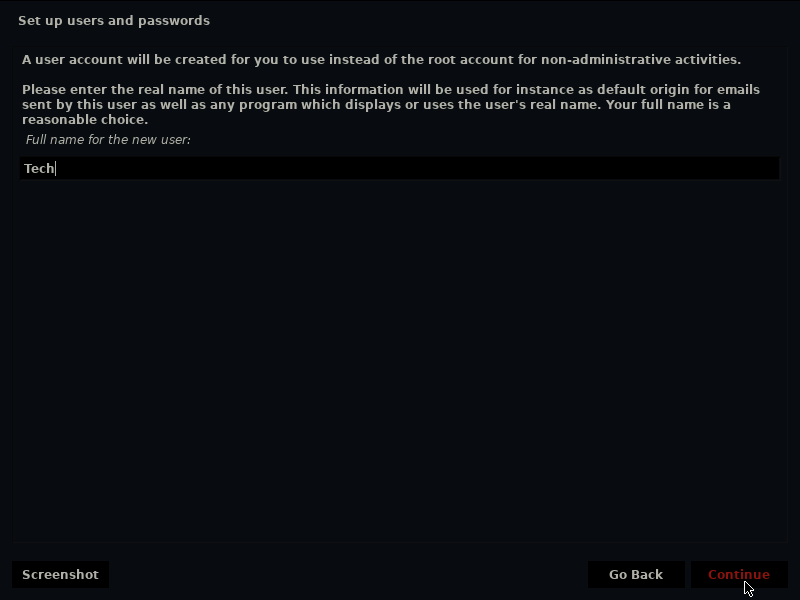
Enter the full name of your user
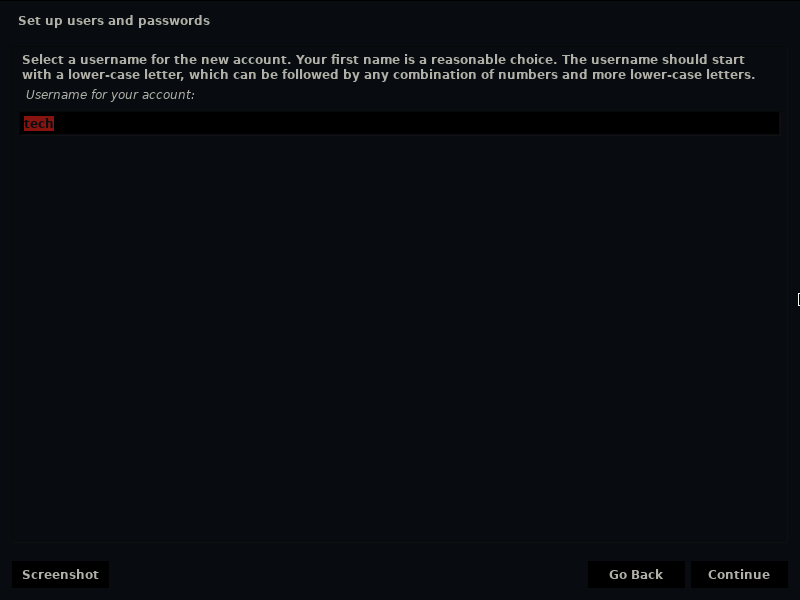
Create your username
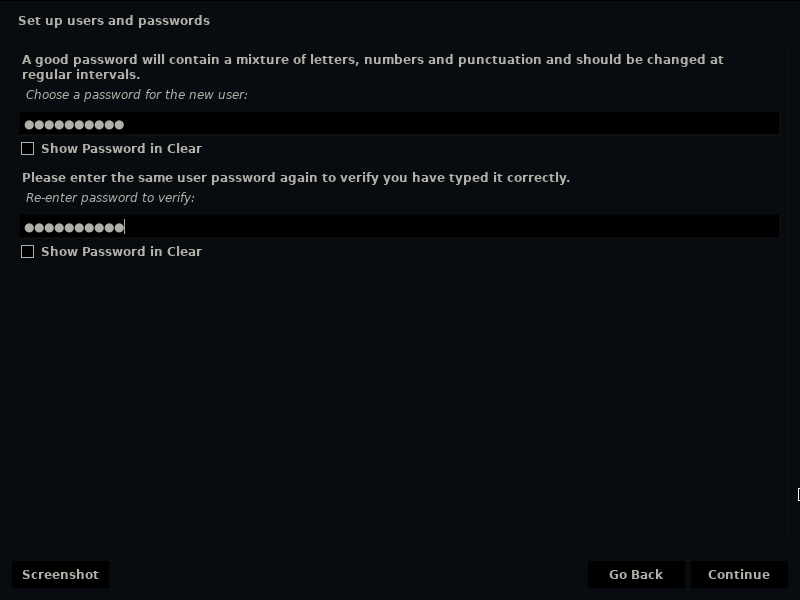
Create your password
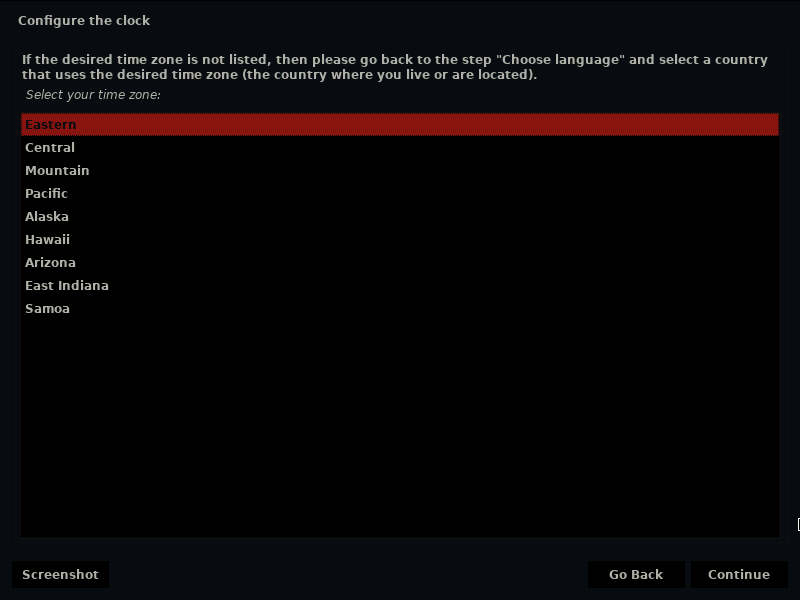
Enter your timezone
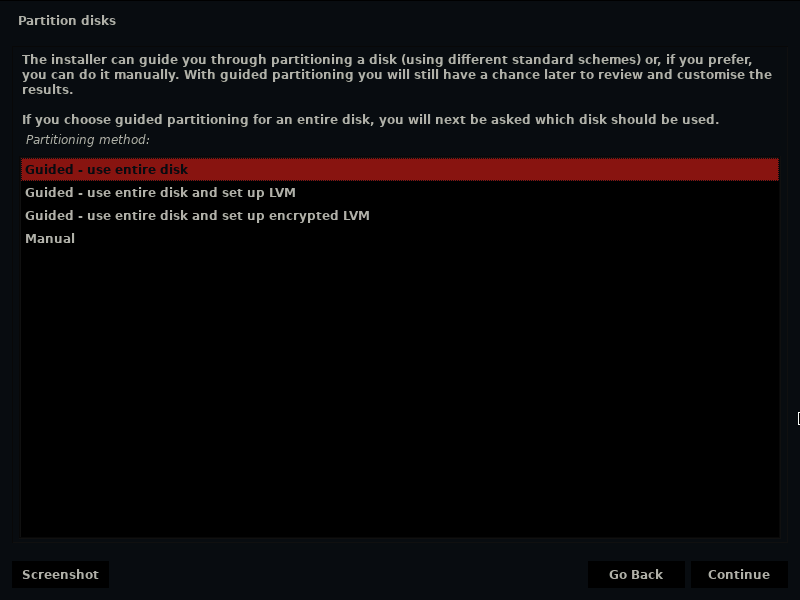
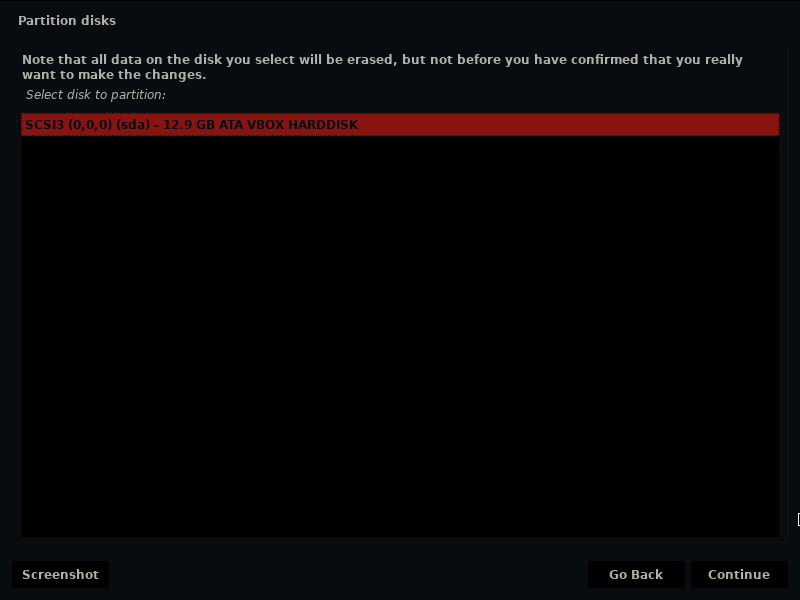
Setup your disk settings
Note: I selected the entire disk for this machine. You may choose to do something different especially if you care about making sure your systems are encrypted.
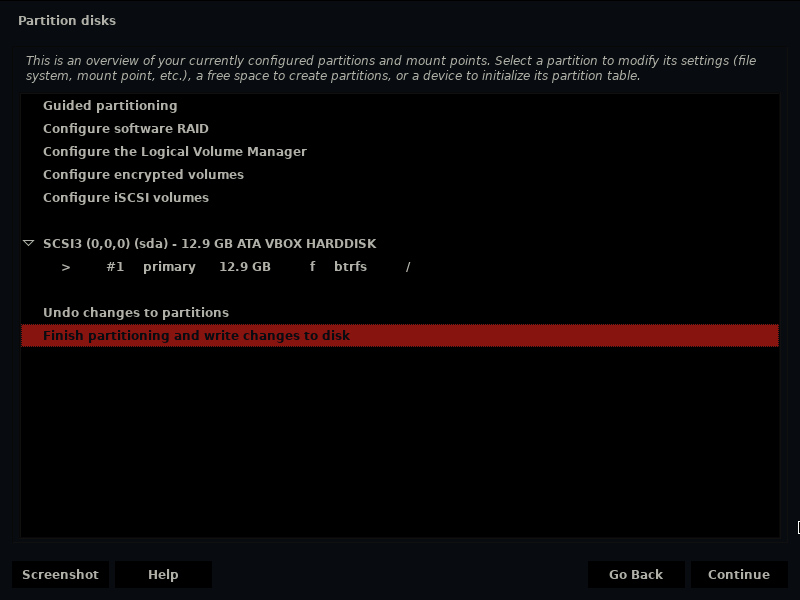
Setup your partitions
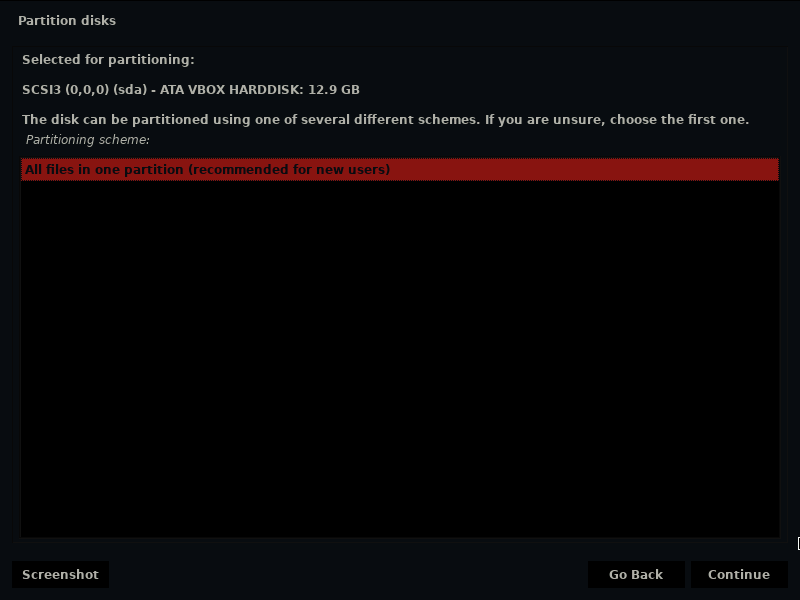
Use entire partition
This is your final chance to make changes!
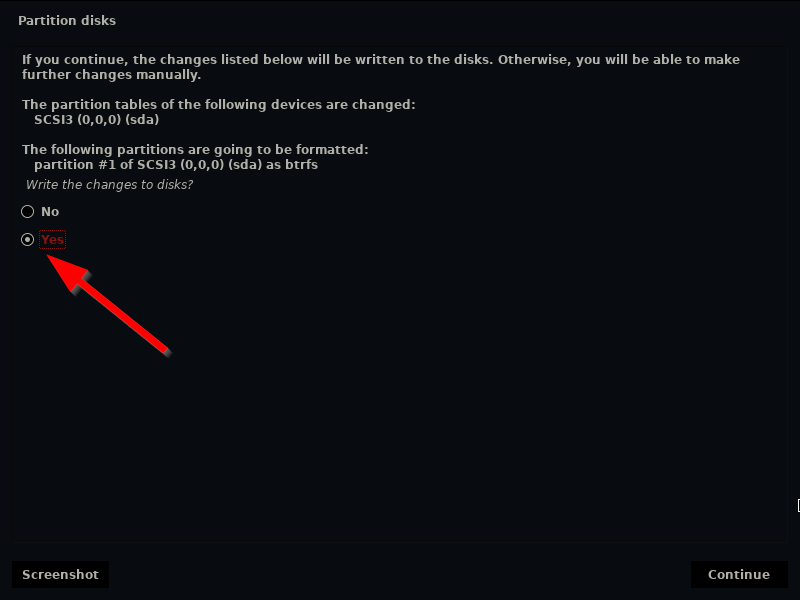
Select “Yes” to write all of the changes to the disk
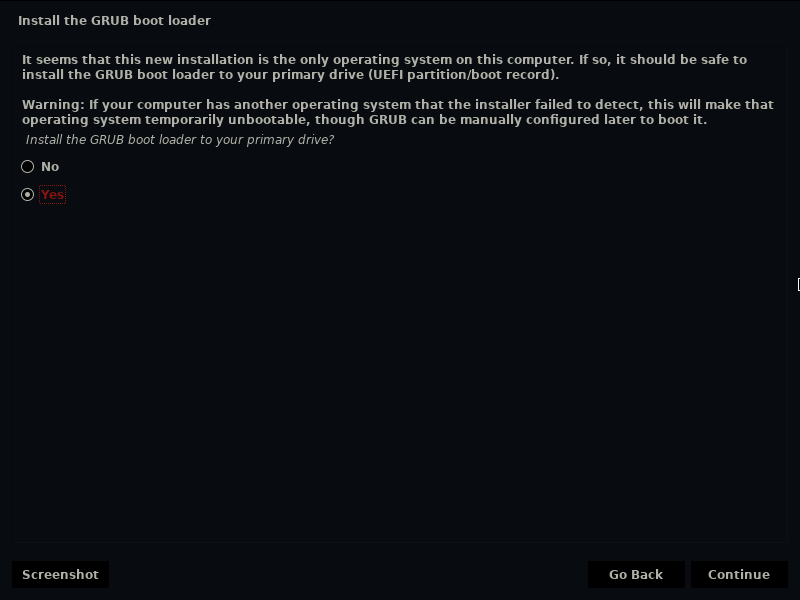
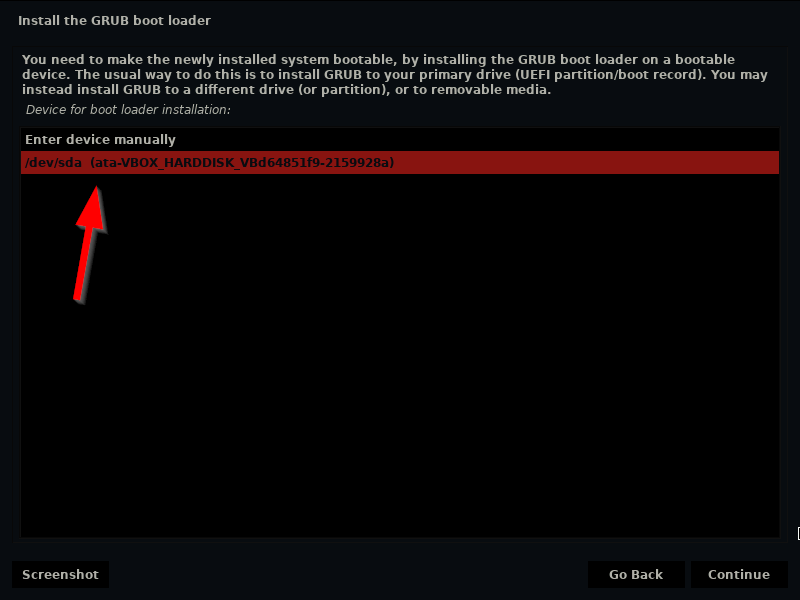
This is where you install the GRUB bootloader. This is what will tell the PC to boot to the operating system. For more information on GRUB and how it works, check out this video:
It Works!
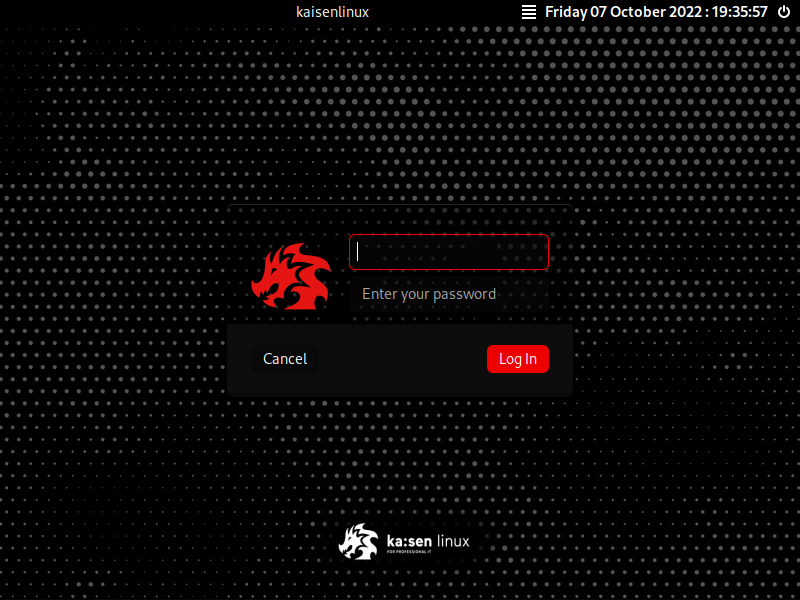
Kaisen Linux Login Screen
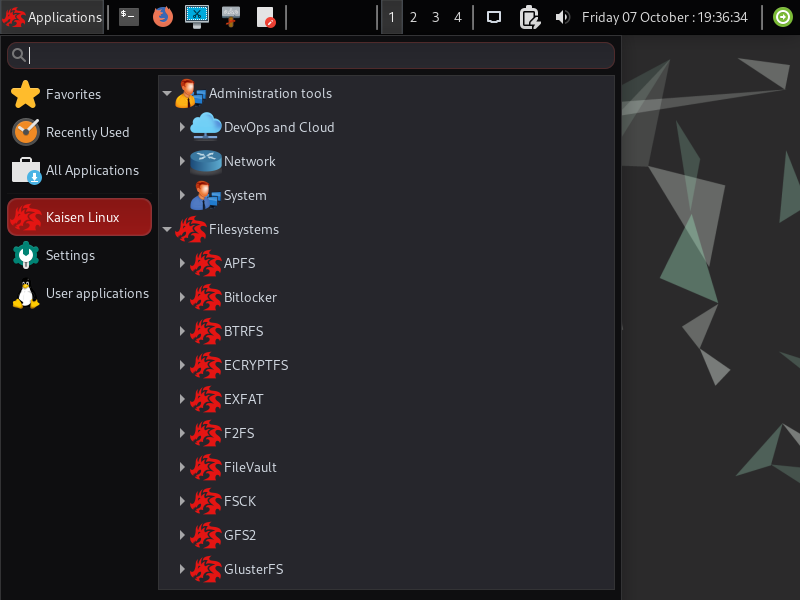
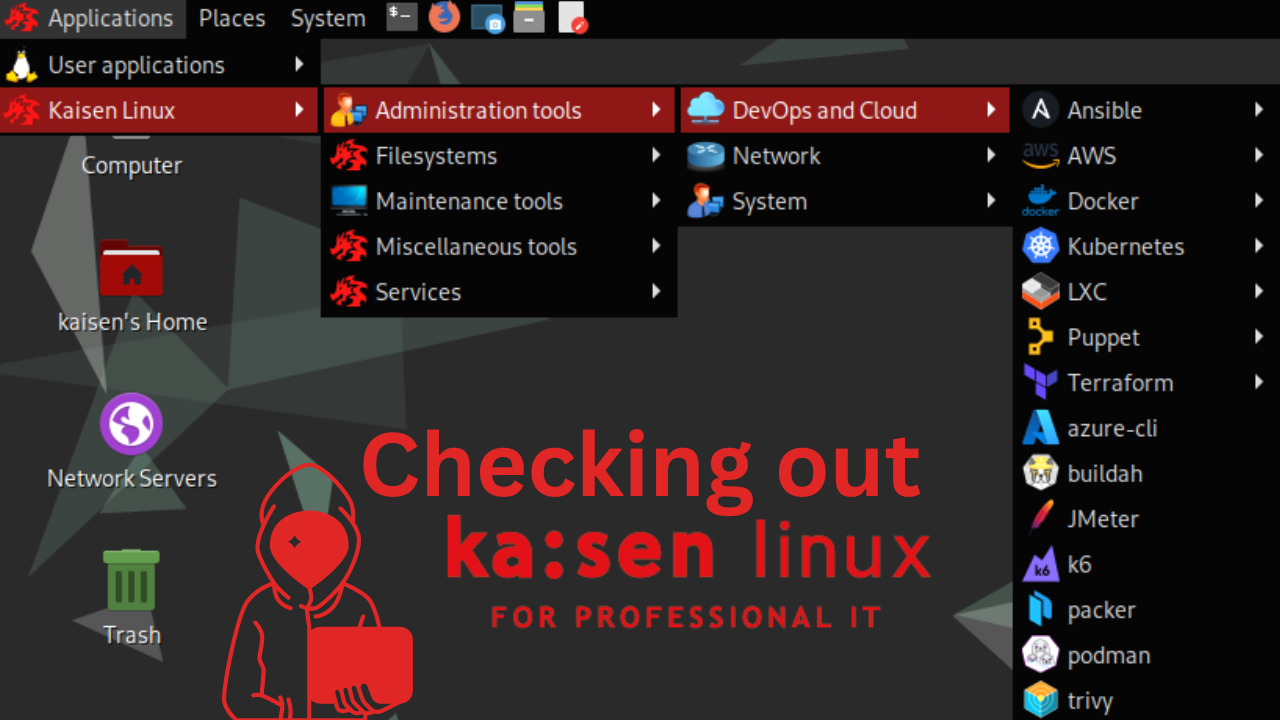
Some of the programs that are installed
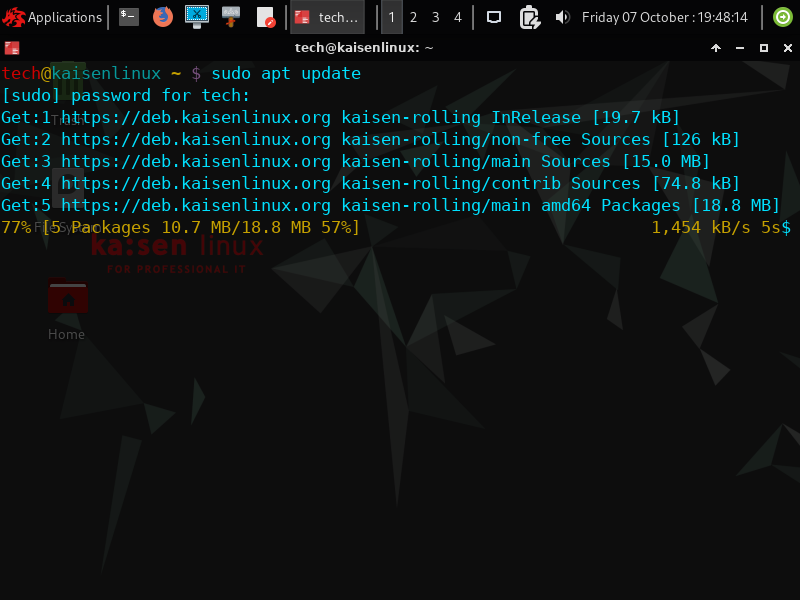
Make sure that you update and upgrade your system!
Final Thoughts
I am excited to see what this distro has to offer. I am a huge fan of Kali and what it has done for the cybersec scene. My hope is that I can integrate this into my curriculum next year to give students access to tools that they otherwise wouldn’t know about!
Man Pages: Kaisen Linux | Manpages — Manpages v2.1.1